Navigating the Console
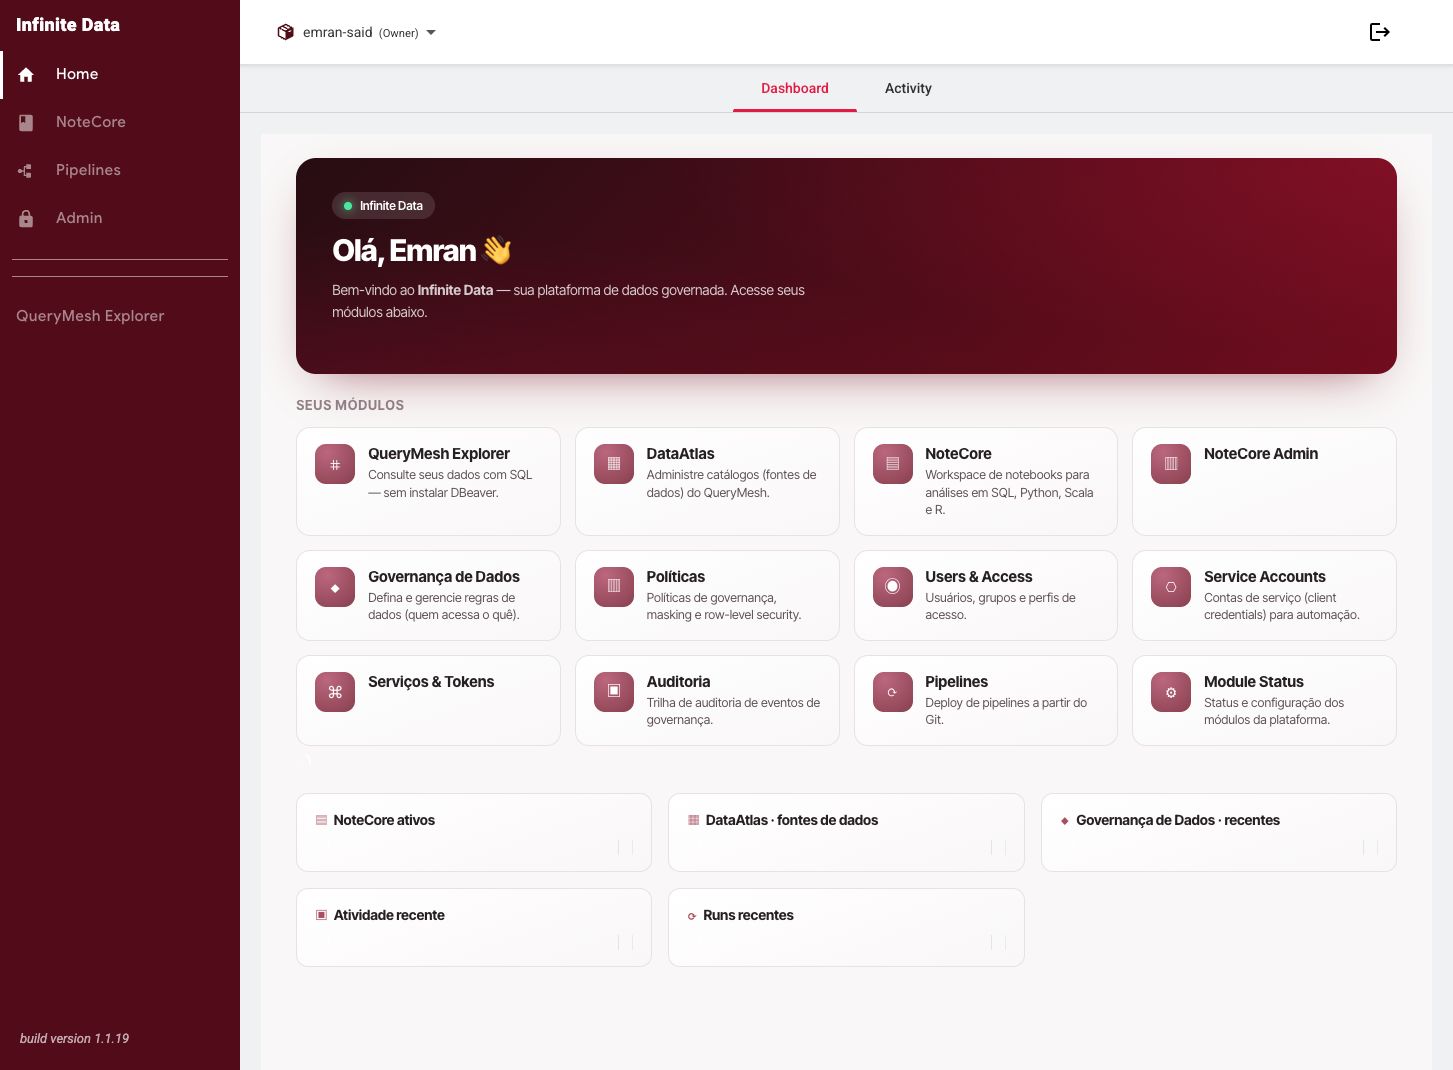
Get to know how the Infinite Data Console is organized and learn to move between querying, governance, auditing, and administration.
When to use this
- Use it when you want to get your bearings in the product.
- Use it when training someone new on the Console.
- Use it when you do not know which area a task belongs to.
Before you start
- You need to be signed in to the Infinite Data Console.
- Your role must show the area in question in the side menu.
- If the area does not appear, ask your administrator to review your usage role.
Step by step
- Use the side menu to reach the main areas.
- Go to Data Catalog when you want to discover available data.
- Go to QueryMesh Explorer when you want to write and run queries.
- Go to Data Governance when you want to create or review access rules.
- Go to Users, Groups, and Profiles when you want to administer people and responsibilities.
- Go to Audit Center when you want to investigate recorded actions.
- Use the current screen's filters, search, and tabs before switching areas.
What happens next
- You cut down on back-and-forth and find the right screen for each task.
- The Console keeps navigation aligned with your usage role.
- Sensitive actions ask for review or confirmation before saving.
Common errors
- An area does not appear in the menu: your role does not include that responsibility.
- Empty list: there may be no data released to you, or the filter may be too narrow.
- Access denied: ask the access manager to review the data rule or the group you belong to.
Good practice
- Read the empty states: they usually explain what is missing in order to move on.
- Use catalog, schema, table, and group names as references in conversations with your administrator.
- Avoid opening several access changes at once without reviewing the final summary.
Next steps
Was this page helpful?
Report a problem on this pageDo not send passwords, keys, tokens, or customer data.